How to pitch a tent in winter
There are many benefits and fun adventures that come with a winter camping trip. A short, mile-long hike can quickly turn into hours of trudging through deep snow and laughing together as you dig your way to camp. It is a trip to remember, and coming prepared will ensure that you will cherish it forever.
You’ll have a much easier time adjusting to the winter wonderland if you have some basic skills and knowledge. It’s time to add to your toolbox once you know how to dress for winter hiking.
Setting up your tent in the snow is one of the first steps. Once the snow falls, the task changes drastically, and you’ll need to develop a very different set of skills than you would in the summer.
Today will show you how to pitch a tent in the snow for winter camping.
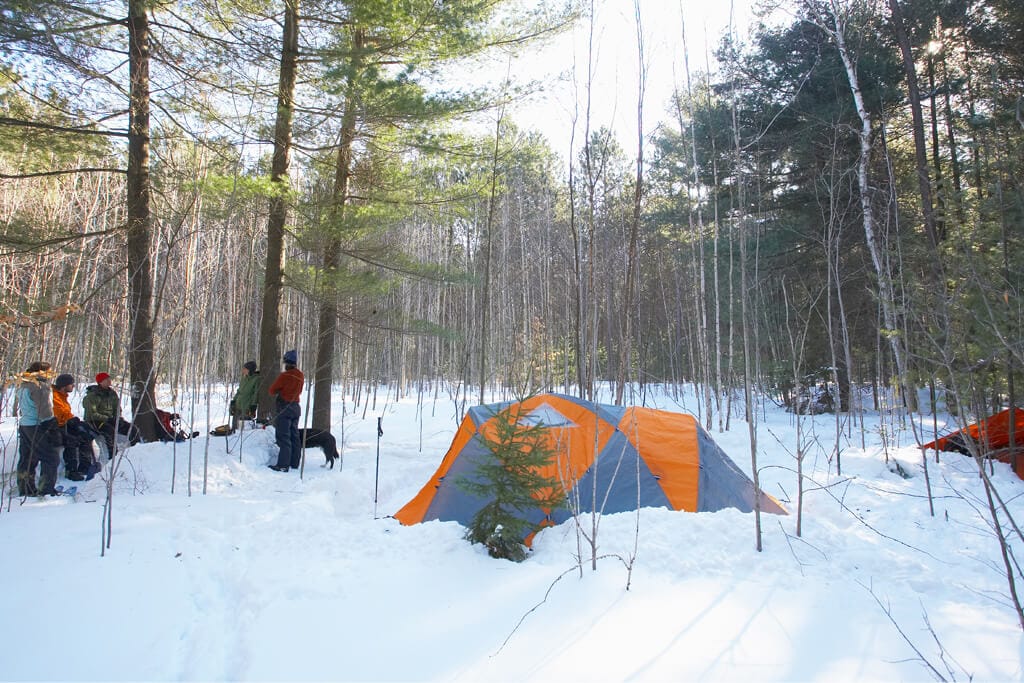
Choosing the right site
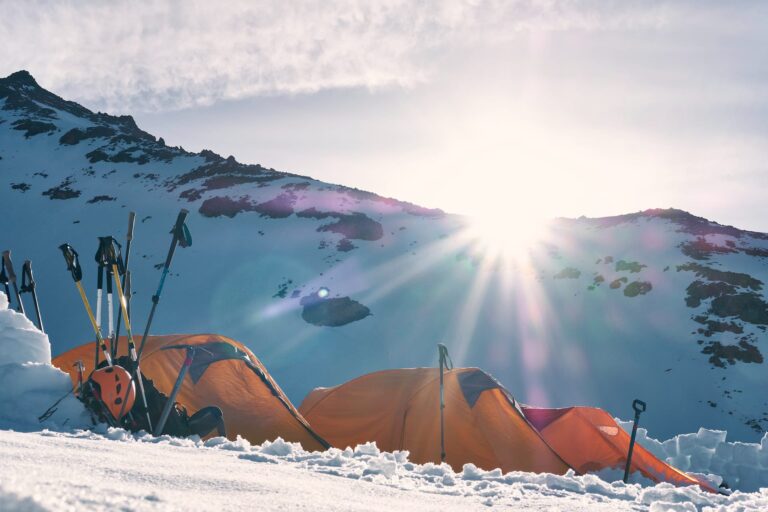
It’s time to look for the best campsite once you arrive at camp. Snow brings with it many new elements that you will need to navigate to keep yourself safe during the nighttime. In the summer, you’ll be on the lookout for bears and other critters; in the winter, you’ll be on the lookout for avalanches.
Choose a site that is as far away as possible from any slope, and therefore from any potential for avalanches. You may wake up partially or completely buried by an avalanche, even on a low angle slope. A safe winter camp is far away from any potential avalanche terrain. Basecamp should be a safe distance from any potential avalanche terrain, even if you plan to climb the mountain in the morning.
Snowfall from trees is another hazard to be aware of in winter. Pay even closer attention to what’s above you when you’re below the tree line. Dead trees are less obvious in the winter, and now you need to watch for trees that may break under the weight of snow and ice. Even the snow that’s sitting on those branches can be dangerous if it’s filled in with ice.
If you’re going to sleep in an area with a large amount of snow, you’ll need to be aware of what’s underneath you. At higher elevations, you’ll often find yourself sleeping a few feet above small trees and bushes that have been buried by the snow. The variety of landscapes you can find under the snow can lead to a big problem.
Depending on how the snow has been compacted, you may be on top of some cavities that are in danger of collapsing inward. If this happens while you’re asleep, you’ll wake up a few feet lower than where you started and probably blanketed in a good deal more snow. To avoid this nighttime inconvenience, feel around and try to find a spot that looks like it’s over flat ground rather than rocky terrain.
Pack it down, set it up
It’s time to make your footprint now that you’ve found a spot. If you’ve been hiking in snowshoes, you have the best tool for this job strapped to your feet. Use the snowshoes to stamp and flatten the ground where you will soon be pitching your tent. This way, you will have a more stable, flat surface for your sleeping area.

Expand the footprint a little bit beyond the area where the tent will be placed. This way, you will have a more stable surface for foot traffic. Take care when leaving the tent to go to the toilet during the night, because you’ll quickly forget you’re in the snow and end up waist-deep.
The snow shouldn’t pack down any more when you start walking on it. Remember, this is where you’re going to sleep. You don’t want to start sinking in while you’re sleeping.
You can set up your tent once your area is completely packed.
How to Pitch a tent
After you have chosen your site, you should plow a space in the snow the size of your tent. When your tent is set up and you’re ready to lie down for the night, snowshoes are excellent, but you can use anything to pack down the soft, fluffy snow to support your weight. Put down some sort of ground sheet so that when the snow melts beneath you, it doesn’t seep into the fabric of your tent, and make sure that at least one of your doors faces out of the wind. It won’t melt much, but you don’t want to take any chances.
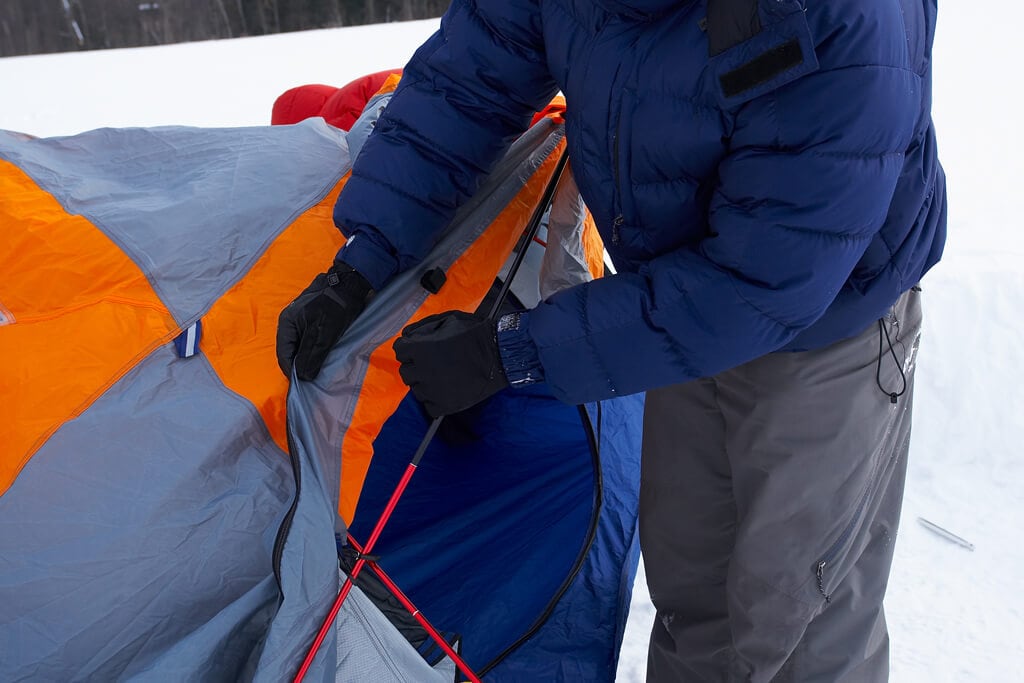
To be able to identify (tent) wind direction, it is best to attach a piece of fabric or a brightly colored rope of moderate thickness and size.
Anchorage of your tent
If the ground isn’t rocky, it’s easy to drive a stake into it in the summer, but what do you do when the ground is frozen in the winter? I can assure you that this method of anchoring is stronger than driving stakes.
The least expensive method is to use a rock or stick, a cheap nylon parachute, or even the cheap material from any old hardware store.

- The rope should be cut to a length of 12 to 24 inches (or 1-2 feet) and then both ends should be sealed. This will prevent the ends of the rope from fraying. (If you’re using nylon rope, you can melt the ends with a flame before joining them together by smoothing them out with pliers).
- Tie one end of the rope to your tent’s anchor point, where a stake would normally go.
- Tie the other end of the rope to the rock or stick.
- Place the rock or stick facing the tent in the snow, or at least pile some snow in front of it. (You’d be surprised how strong 1-2 inches of snow is, especially after it’s been placed and allowed to freeze overnight).
- Repeat for the other anchor points, pulling gently to stretch your tent to its maximum extension, just as you would if you were using stakes in the summer.
Tips: Buying a few snow anchors from REI or a similar store is the more expensive option.
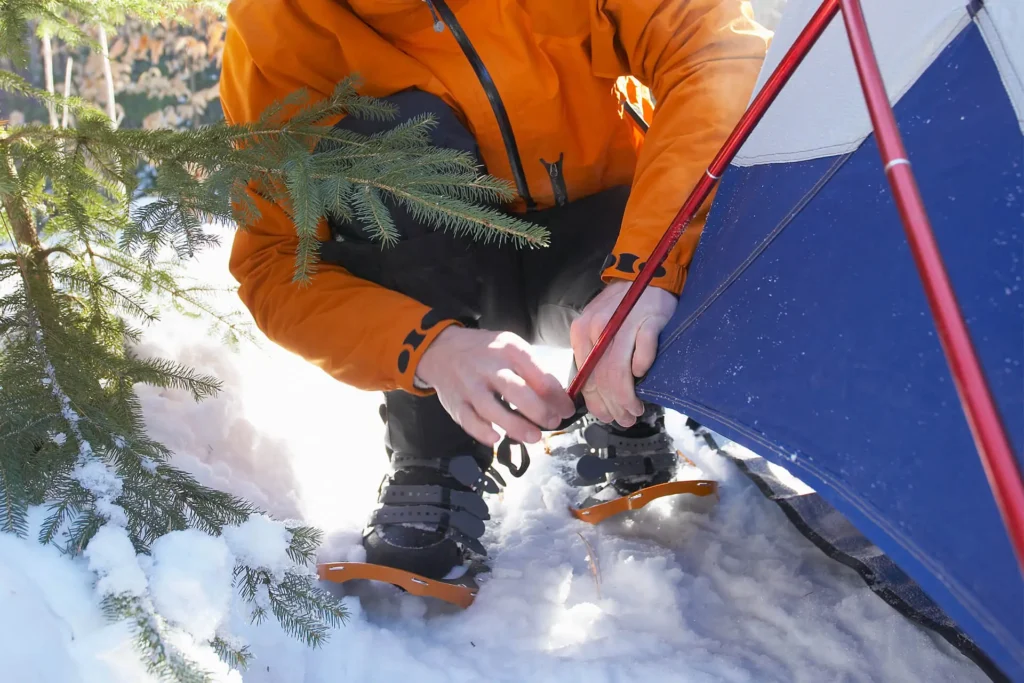
Insulate the ground
Place a thick layer of insulation, such as a foam pad or closed-cell foam, under your sleeping bag to help protect you from the cold ground. This will also help to keep you warm and comfortable while sleeping.
Please ventilate the tent
This is the basis for building a fantastic bedroom. You won’t feel the wind, you won’t be cold, and you won’t get wet.
If the snow is thick enough, you should dig a cold air trench and pile snow around the tent to act as an additional windbreak after you set it up as if it were summer. The cold air trench is just a really nice bonus; the windbreak is the most important component. I’m going to assume that your tent is covered with a significant amount of snow.
You should dig the space beneath your vestibules. Make sure there is enough distance between the tent’s border and the digging site. Avoid resting too near to the snow’s edge for fear of having your platform fall apart while you’re on it. The sides of tents without vestibules or entrances can also be dug out. This makes room for cold air to seep beneath the platform you sleep on, as implied by the name “cold air trench.” Each little thing matters.
Keep all the snow you just shoveled nearby to create the windbreak. The snow should be piled 4-6 inches (laterally) and above the edge closest to the ground away from the tent and vestibule (vertically). This will prevent gale force winds from blowing through your tent and allow air to pass through to dry it out. The higher the wall, the more wind it will block. Make sure that the entrance of the tent you have positioned out of the wind has a small gap in the windbreak.
Why you need it: Humidity is terrible in the winter. This includes your sweat during the day and your hot, steamy breath during the night. You heard that right – you breathe. Contrary to popular belief, to keep snow and wind out of your tent, you don’t need to seal off the area between the vestibule of your tent and the ground. In fact, if you do, your tent will become a rainforest. The top of your tent will become steamy if there is no ventilation. The condensation will eventually build up to the point where it practically starts to rain, wetting your sleeping bag and, even worse, perhaps falling on your face and waking you up.
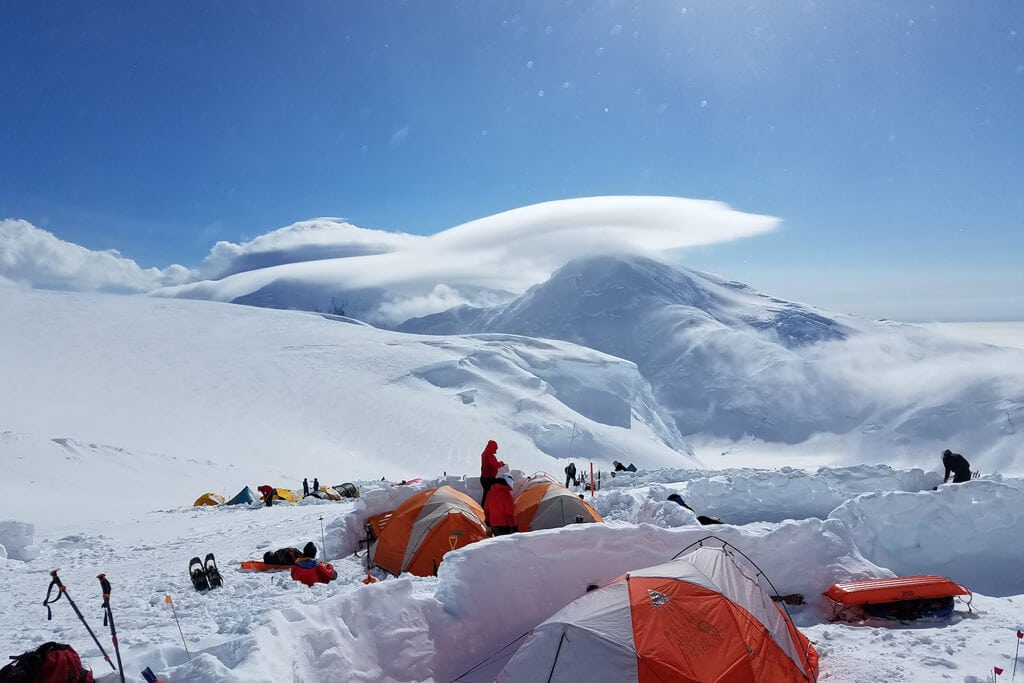
How to Pitch a tent in winter under harsh conditions?
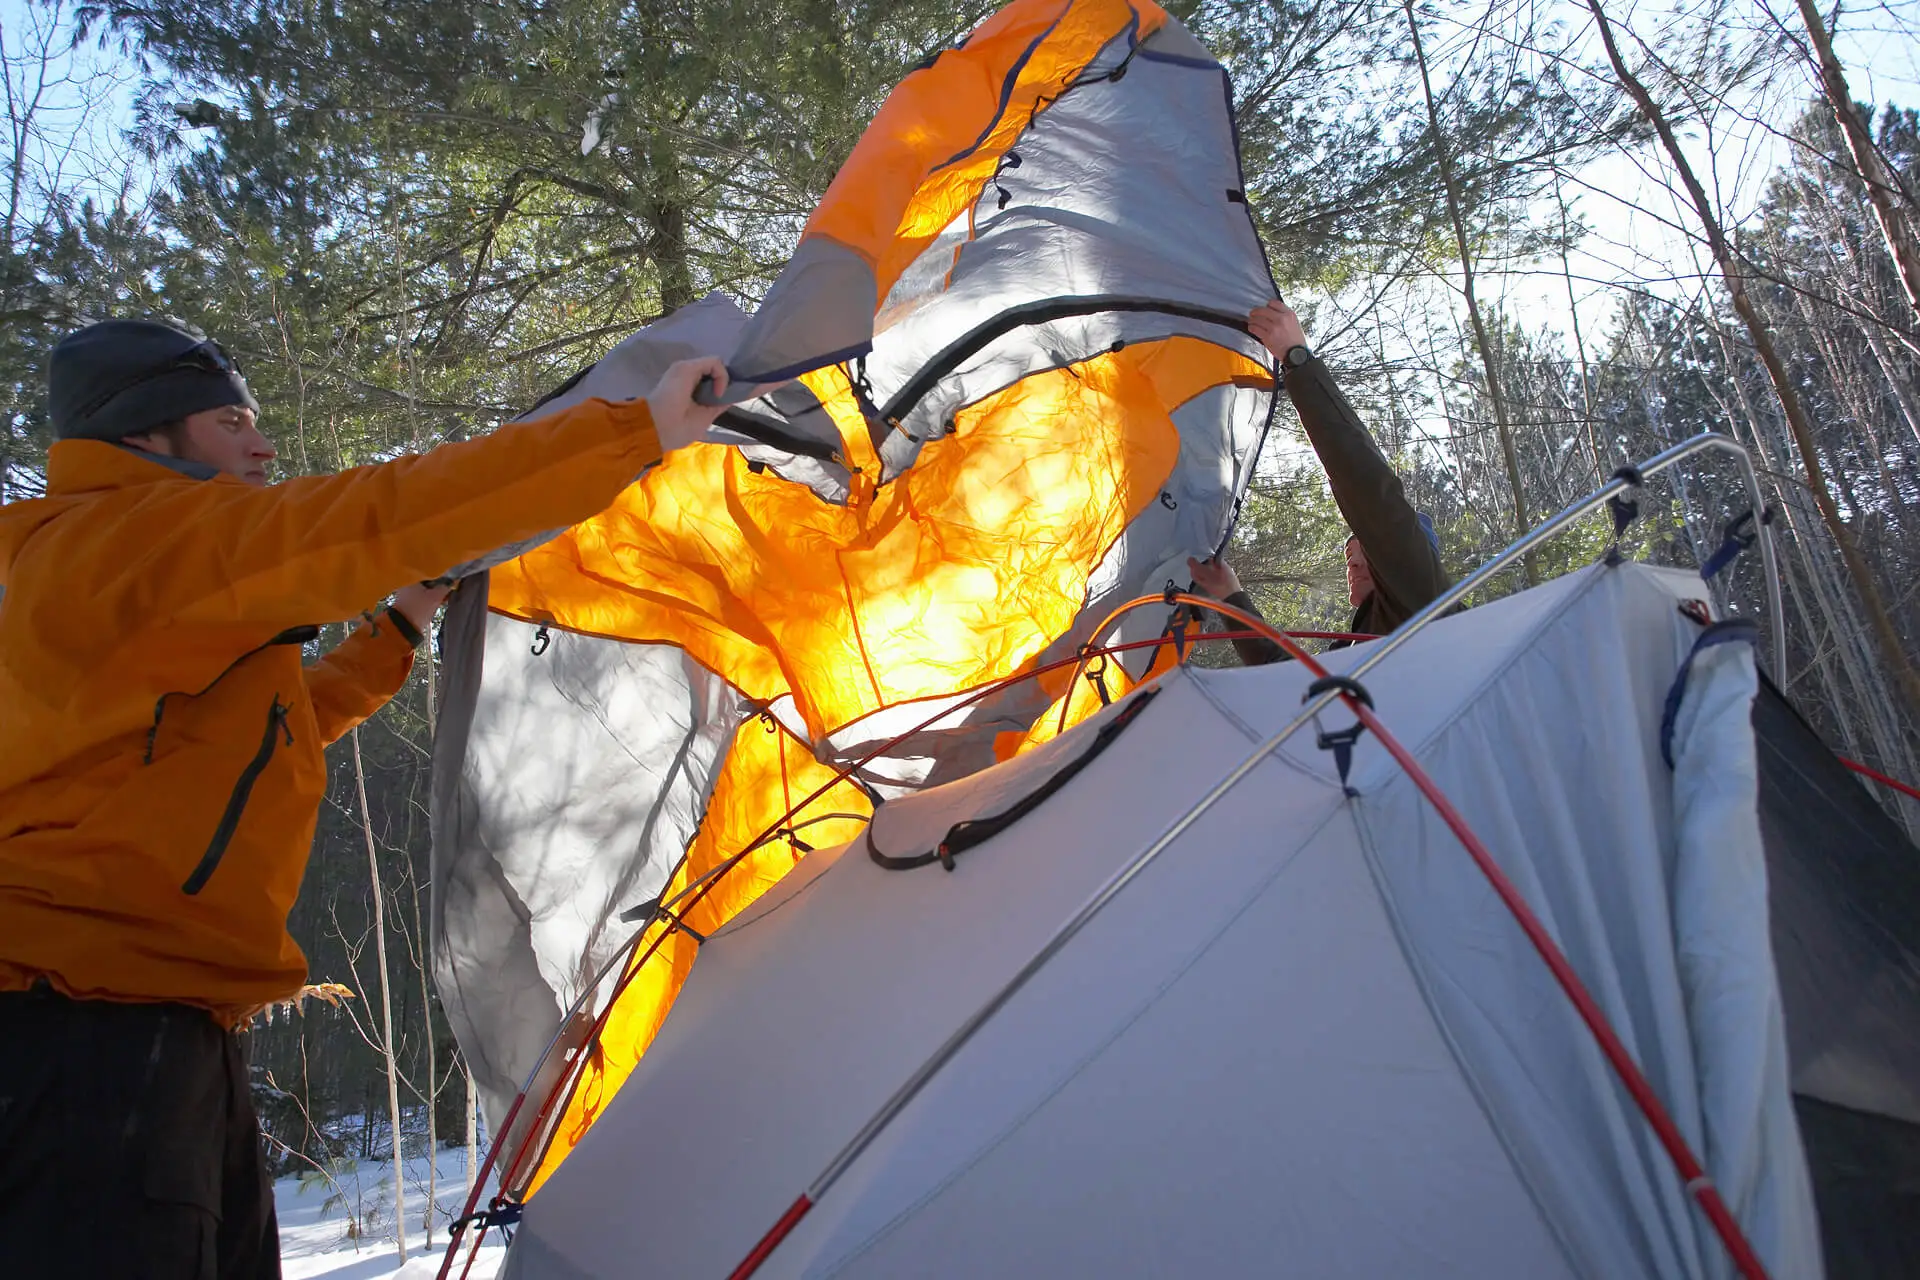
Setting up a tent in winter can be challenging due to the harsh weather conditions, Especially if you have to set up the tent alone. So I think these recommendations may help you.
1. In the place where you want to set up your tent, kneel with your back to the wind and low to the ground.
2. Before you pull out the whole tent, there should be at least 2 guy lines hanging outside the tent bag to secure the tent with some pegs. This way the tent is already secured.
3. Continue to roll the tent leeward, keeping it low to the ground, still in the kneeling position, and peg it down along the way.
4. Loosely secure the remaining front guy lines. Your tent is now anchored to the ground and won’t move.
5. Slide in all the poles halfway, and when all the poles are halfway in, and the tent is still on the ground, fully erect the tent poles starting from the first one where the wind is blowing.
6. Now that the tent is erected, all corners and the front guy lines have already been pegged out. Stake out the remaining side and back guy lines. The tent is all set and ready to go.
Tips of pitch your camping rent
1.When the snow falls on the tent, it can accumulate and if the tension of the fabric is not good enough, then the weight of the snow on the tent will make it sink and then the fabric will start to sag, which is not good.
Most importantly, if there is wind, it will also get worse and worse, so not only the tent needs to be maximized to make it strong, the entrance should also be set up downwind, we prefer to go downwind rather than upwind and have to struggle.
2.The key to windproofing ness is the structure of the tent! Tents with a skeleton structure of tent poles are definitely more windproof than tower tents.
You can build seats, tables, and full-blown snow forts to enjoy if you have enough snow, time, and shovels. You can build anything you can think of. This is one of the best aspects of winter camping. Without worrying about damaging the campsite, you can build an entire kingdom in the snow. In addition, this makes winter camping a fun activity that you can do with your children as well.
Related Article: The Best guide to winter camping



Wow, what a great read! This article is full of valuable insights and written in such an engaging way. Thanks for sharing this