How To Pack A Backpack For Winter Camping
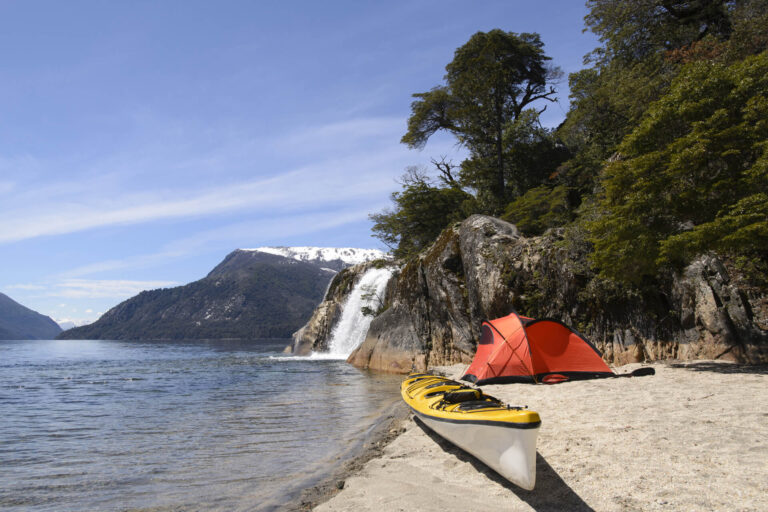
When it’s snowing outside, are you attracted by the beauty and have plans to go winter camping? I highly recommend you to go winter camping and enjoy the rare time.
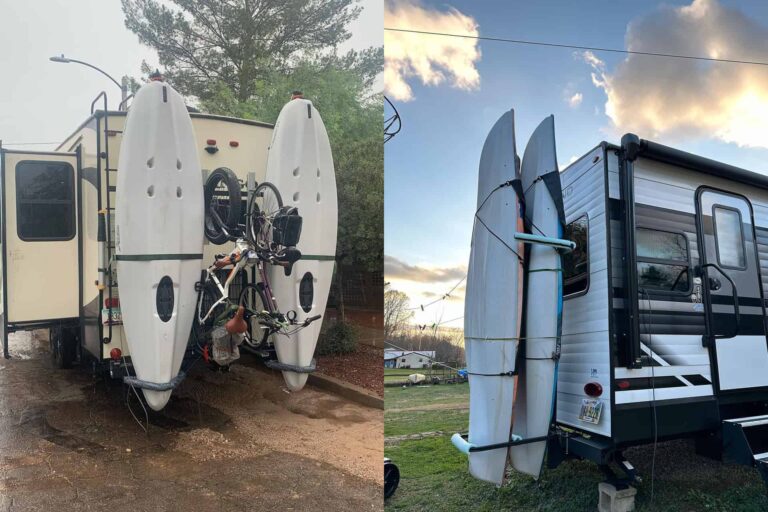
You may ask me how to go winter camping? You can choose to go winter camping by car or just bring a backpack. If you want to learn more about winter camping by car, check out this post: The Best Guide To Winter Camping: Gear Lists, Tips And Tricks
These days, there are any number of high-tech backpacks that can help you haul more gear longer and farther than ever before. However, it’s still vital that you know how to pack your backpack properly. In this post, we’ll cover some of the most important tips and guidelines to get your backpack ready for winter camping.

HOW TO PACK A BACKPACK
When choosing a backpack for winter camping, it is important to choose a backpack that is specifically designed for winter conditions and has enough room for all of your gear. Also, make sure the pack is comfortable to wear and provides good support, as you will be carrying it for long periods of time in harsh winter conditions.

One of those talents you don’t realize you need until you’re walking down the trail with something cruelly squeezed into the small of your backpack is how to properly pack a backpack. Then you realize that your filter is in the bottom of your pack when you need to get some water. Where did you put that annoying backpack cover when it suddenly started to rain?
A little attention to packing goes a long way to keeping you happy and comfortable on the road. Luckily, it’s easy to do once you know what you’re doing. Read on to master packing.
PICK OF A BACKPACK
The two most important considerations when purchasing a backpack are volume and fit. You can skip this step if you already have a backpack that you like. However, if you want some assistance selecting the ideal bag for your winter camping, continue reading. Please take note that this article only discusses internal frame packs since they are currently the pack of choice for the vast most of backpackers. Fans of external frames will need to search elsewhere.
VOLUME
Most people choose to backpack and hike into the winter. so, your pack’s capacity must be sufficient to hold all your gear without being so large that you carry extra weight.
Studies show that hikers who carry smaller backpacks are more likely to complete their long-distance trips and have fewer injuries. With a lighter pack, you can more easily avoid back problems and injuries from losing your balance. The more weight you can carry – many packs are only designed to carry 30-40 pounds – the less likely the pack is to fail. This provides a balance of weight and function that is ideal for most people.
For most trips, the optimal volume for a backpacking pack is between 45 and 65 liters. For winter backpacking, you need a pack with a 58-70 liter capacity that can carry up to 40 pounds for winter hiking (40 pounds to avoid pushing the limits of your pack’s capacity). A tent that can withstand elements such as winter winds and blowing snow is necessary. You will also need a sleeping bag that will keep you warm in cold weather.
FIT
The use of a backpack depends on how comfortable it is to carry, which starts with a good fit. Most packs come in two or three sizes based on how long they should be to sit comfortably on your back. It is a good idea to go to your local outdoor store and have a specialist measure you.
Store stuff can teach you how to properly adjust the pack straps, which is essential for determining fit. Here’s how to do it yourself:
- Always buckle your hip belt first, then adjust it. 80% of the weight of the pack should be on your hips, where it should sit securely on your hip bones.
- You can tighten the shoulder straps by grasping the strap ends under your armpits and pulling down and away. There should be no gaps across your shoulders and the shoulder straps should feel comfortable against your body. Be careful not to tighten the straps too much, however, as this can cause your shoulders to take on too much weight, which can quickly lead to shoulder pain.
- Adjust the shoulder straps from the top of the pack to the shoulder straps. They should be at a 45-degree angle.
- The sternum strap should be clipped in and adjusted to rest approximately one inch below your collarbone. Apply just enough tension to keep it flat and snug against your body, but not so much that it prevents you from breathing.
You can put on a few different weighted packs and walk around the store with them for a while. Keep an eye on any areas of your body that rub together a lot, as they can develop into hot spots over time.

TAKE YOUR GEAR FOR WINTER CAMPING
The location of your winter camping trip and how long you’re staying are the two most important factors in deciding which gear to bring.
The equipment list generally stays the same no matter how long your trip is; you don’t need different clothes every day. The only thing that changes is the amount of food you need to bring. If you’re going on an extended trip of a week or more, you may need to choose a larger pack to accommodate the amount of food you’ll need.
Packing can be easier when you travel in a group because you can share the work. If you are sharing a stove, tent, and/or water purification system, you can divide this equipment among hikers to lessen the burden on each hiker. Just make sure you‘re stay together.
Taking the equipment is certainly not missing the “big three”. The phrase “the big three” refers to your backpack, tent, and sleeping bag because they are the bulkiest goods you bring. The “big three” mean is based on three-season backpacking. Winter hikers often carry snowshoes to make walking on snow easier. Snowshoes typically weigh about 4 pounds. But even with it, the “big three” idea is still valuable.

At the same time, “the big three ” also have three pounds rule. that none of the big three should weigh more than three pounds. In other words, it’s best if each of the three items is less than 3 pounds.
Next we will share the list of backpacking gear for winter camping.Lay out all your items before you start packing so you can visually see that you have everything you need, including meals for each day.
The Essentials:
First Aid kit:Iodine prep pad,Band-aids,Burn cream,Ibuprofen tablets ,Antibiotic ointment pads
Hygene supplies:Poop Bag,Pee Bottle,toilet paper ,Sanitary wipes ,Toothbrush + paste
Navigation gear:Compass ,Map
UV Protection:Sunglasses ,Sunscreen
Lumination:Headlamp
Fire-starters:Lighter or Flint
Cooking Supplies:2L Pot,Stove(Pack a winter-specific stove),Spoon,Cup,Knife to cut meat,Extra fuel
Water Supply gear:soft bottle
The Big Three:
Backpack: 58-liter pack
Sleeping system:Inflatable Sleeping Pad,Sleeping Pad Pump,Sleeping Bag,Reflective Mat
Switchback Foam Mat,Synthetic Quilt,Pillow
Tent:ULTRALIGHT PYRAMID TENT(four-season)Or buy a tent that is suitable for use in winter and handles condensation well; it also handles well in stormy weather.
Other gear:Snow Shovel,Hand Warmers,Powerbank,Food Bag,Extra set of fleece thermal underwear (includes pants),Snow Trekker Skis
Food:freeze-dried food / food already cut or cooked at home
HOW TO FIT ALL GEAR INTO BACKPACK?
Weight distribution is key when packing a pack. You can divide your pack into several zones to help you organize your gear. Basically, you want all the items you will need while actively hiking to be easily accessible, and the heavier items to be near your mid-back for a stable center of gravity.
When hiking, a properly balanced pack can actually increase your safety. A poorly balanced pack could pull you down if you lose your balance, while a well-balanced pack can help you maintain your balance.

There are four internal weight zones, as shown in the illustration above, and they are listed in the following packing sequence:
- Bottom –Medium weight
- Middle back – Heaviest items
- Front – Lightest items
- Top – Lighter items that you might need right now
Tips:Before you start packing, make sure all of your pack’s compression straps are as loose as possible.
INTERNAL ZONES OF THE BACKPACK
ZONE 1: THE BOTTOM
The best place for your heavy, medium-weight items in your pack is at the bottom. Start with your sleeping bag, which serves as a platform inside your pack for the rest of your stuff. Most campers carry their sleeping bags in waterproof stuff sacks, but others like to just stuff a loose sleeping bag in the bottom of their pack to fill in the empty space. Depending on the size of your sleeping pad, you can tuck this next to your sleeping bag. Use your camping clothes and a pillow (if you have one) to fill in any gaps.
Some packs have a designated sleeping bag pocket at the bottom with zipper access and a removable sling to carry items over the sleeping bag. Don’t use the sling if your pack needs more space.
ZONE 2: THE MIDDLE BACK
All of your bulkiest items should be placed in the center back of your pack, the area closest to the center of your back. This will be the center of gravity for your pack and will help keep it from swinging and throwing you off balance as you walk. The tent body (and poles, if necessary), cookware, stove, fuel, and any food you won’t need until camp should be placed here.
Make sure you utilize every inch of space, even the interior of your cookware. A fuel canister and even a tiny burner may fit inside many pots.
Water is one of the heaviest things you carry, so your pack is designed to hold a hydration reservoir in the center back (one liter weighs 2.2 pounds or 1,000 grams).
Pro tip: Before you pack your other gear, fill your reservoir. Once your pack is full, it will be difficult to do this. Most packs have a small opening on one or both sides of the shoulder straps to allow the tube to come out and attach to the shoulder strap of your choice.
ZONE 3: THE FRONT
The front of the pack should contain your lightest gear, since it is the area farthest from your body. Small toiletries, a camping towel, and lightweight clothing can be used to make room for the heavier items on your back. In addition, clothing can act as insulation for hard objects or potentially unstable gear.
ZONE 4: THE TOP
The backpack lid and the inside top of the main pack are both included in the top of your pack, commonly referred to as the pack’s brain. To prevent your load from being top-heavy, everything in this area should be lighter in weight. In order to avoid having to open your entire backpack every time you need anything, they should also be goods that you require quick access to, such as first aid supplies, hand warmers, food, a compass, sunscreen, a headlamp, etc.
Pro Tip: If you have a large, light item like a snow shovel and foam sleeping pad that won’t fit easily within your backpack,You can use the sling on your backpack to hang.
EXTRA PACKING AREAS
HIP BELT POCKETS
On the waistbelt of most packs you will find useful pockets. A small pocket knife, lip balm, energy bars, action camera, or your phone can be stored in this convenient location.
SIDE POCKETS
Your pack may have two or four side pockets, depending on the pack. Depending on the bag and your flexibility (ask a friend for help!), you can usually access them without taking off your pack. They are usually used for water bottles. They are also great for tent poles (secure the top of the poles with some of the compression straps on the pack) or your fpv drone (Use straps to bundle with backpack compression straps) .
FRONT POUCH
Most backpacks have a front pocket, sometimes called a kangaroo pocket, that can be opened and closed to carry small, easily accessible items. These consist of a raincoat, a bathroom kit (a small spatula, toilet paper, and a snack bag), wipes, and a lighter.
CONNECTION CORDS AND LOOPS
To manage extra stuff, some packs have loops and elastic cinches. While some are there for you to utilize creatively, others are intended to keep items like trekking poles when you don’t want to use them. Though it can catch on tree branches and generally feel (and sound) uncomfortable, try not to have too much excess gear hanging from your bag.

PACKING YOUR GEAR RIGHT
Now that our backpacking gear placement area is clear, all that remains is how to pack the gear. The gear you put in your pack can be bagged and tagged, and the food is handled the same way.
WHICH WINTER CAMPGROUND SHOULD I GO?
If all you have is a backpack not your own car. you might consider visiting a winter backcountry campground where you can hike or ski to your campsite. Popular winter backcountry campgrounds include:
In United State:
- Yosemite National Park in California
- Rocky Mountain National Park in Colorado
In Canada:
- Algonquin Provincial Park in Ontario, Canada
- Banff National Park in Alberta, Canada
Keep in mind that winter backcountry camping requires special equipment and skills to stay safe in cold and potentially dangerous environments.
HOW CAN WINTER BACKPACKING CAMPING BE COMFORTABLE
1.Build your camp site
Use snow or natural features to create a wind barrier. This will help you stay warmer and more comfortable.
2.Stay dry & warm
Make sure to also bring proper clothing layers, including a base layer, insulation layer, and waterproof outer layer.You need to keep warm when you sleep at night, and that’s when your hand warmer comes in useful.
3.Winter game
Explore the snow and winter beauty as you please, but remember not to stray too far from your campsite and bring a compass.
If you’re interested in backpacking winter camping, it’s highly recommended to get out and try it. Many people have different answers about what should be in their backpacks. Because everyone is unique, some people are willing to carry things that others wouldn’t.
I think the most important thing is to enjoy your hard-earned winter vacation time in conditions that make you comfortable and safe. If there is anything else you would like to know, please leave a comment.